检查点
Creating a Apache Kafka deployment manager
/ 40
Create topics in Kafka
/ 30
Process the input data with Kafka Streams
/ 30
Creating a Streaming Data Pipeline With Apache Kafka
This lab was developed with our partner, Confluent. Your personal information may be shared with Confluent, the lab sponsor, if you have opted-in to receive product updates, announcements, and offers in your Account Profile.
GSP730

Overview
In this lab, you create a streaming data pipeline with Kafka providing you a hands-on look at the Kafka Streams API. You will run a Java application that uses the Kafka Streams library by showcasing a simple end-to-end data pipeline powered by Apache Kafka®.
Objectives
In this lab, you will:
- Start a Kafka cluster on a Compute Engine single machine
- Write example input data to a Kafka topic, using the console producer included in Kafka
- Process the input data with a Java application called WordCount that uses the Kafka Streams library
- Inspect the output data of the application, using the console consumer included in Kafka
Setup and requirements
Before you click the Start Lab button
Read these instructions. Labs are timed and you cannot pause them. The timer, which starts when you click Start Lab, shows how long Google Cloud resources will be made available to you.
This hands-on lab lets you do the lab activities yourself in a real cloud environment, not in a simulation or demo environment. It does so by giving you new, temporary credentials that you use to sign in and access Google Cloud for the duration of the lab.
To complete this lab, you need:
- Access to a standard internet browser (Chrome browser recommended).
- Time to complete the lab---remember, once you start, you cannot pause a lab.
How to start your lab and sign in to the Google Cloud console
-
Click the Start Lab button. If you need to pay for the lab, a pop-up opens for you to select your payment method. On the left is the Lab Details panel with the following:
- The Open Google Cloud console button
- Time remaining
- The temporary credentials that you must use for this lab
- Other information, if needed, to step through this lab
-
Click Open Google Cloud console (or right-click and select Open Link in Incognito Window if you are running the Chrome browser).
The lab spins up resources, and then opens another tab that shows the Sign in page.
Tip: Arrange the tabs in separate windows, side-by-side.
Note: If you see the Choose an account dialog, click Use Another Account. -
If necessary, copy the Username below and paste it into the Sign in dialog.
{{{user_0.username | "Username"}}} You can also find the Username in the Lab Details panel.
-
Click Next.
-
Copy the Password below and paste it into the Welcome dialog.
{{{user_0.password | "Password"}}} You can also find the Password in the Lab Details panel.
-
Click Next.
Important: You must use the credentials the lab provides you. Do not use your Google Cloud account credentials. Note: Using your own Google Cloud account for this lab may incur extra charges. -
Click through the subsequent pages:
- Accept the terms and conditions.
- Do not add recovery options or two-factor authentication (because this is a temporary account).
- Do not sign up for free trials.
After a few moments, the Google Cloud console opens in this tab.

Task 1. Set up Kafka
-
In the Cloud Console, open the Navigation menu and click Marketplace.
-
Locate the Apache Kafka® deployment by searching for Apache Kafka.
-
Click on Apache Kafka Server on Ubuntu Server 20.04. It should look like this:
-
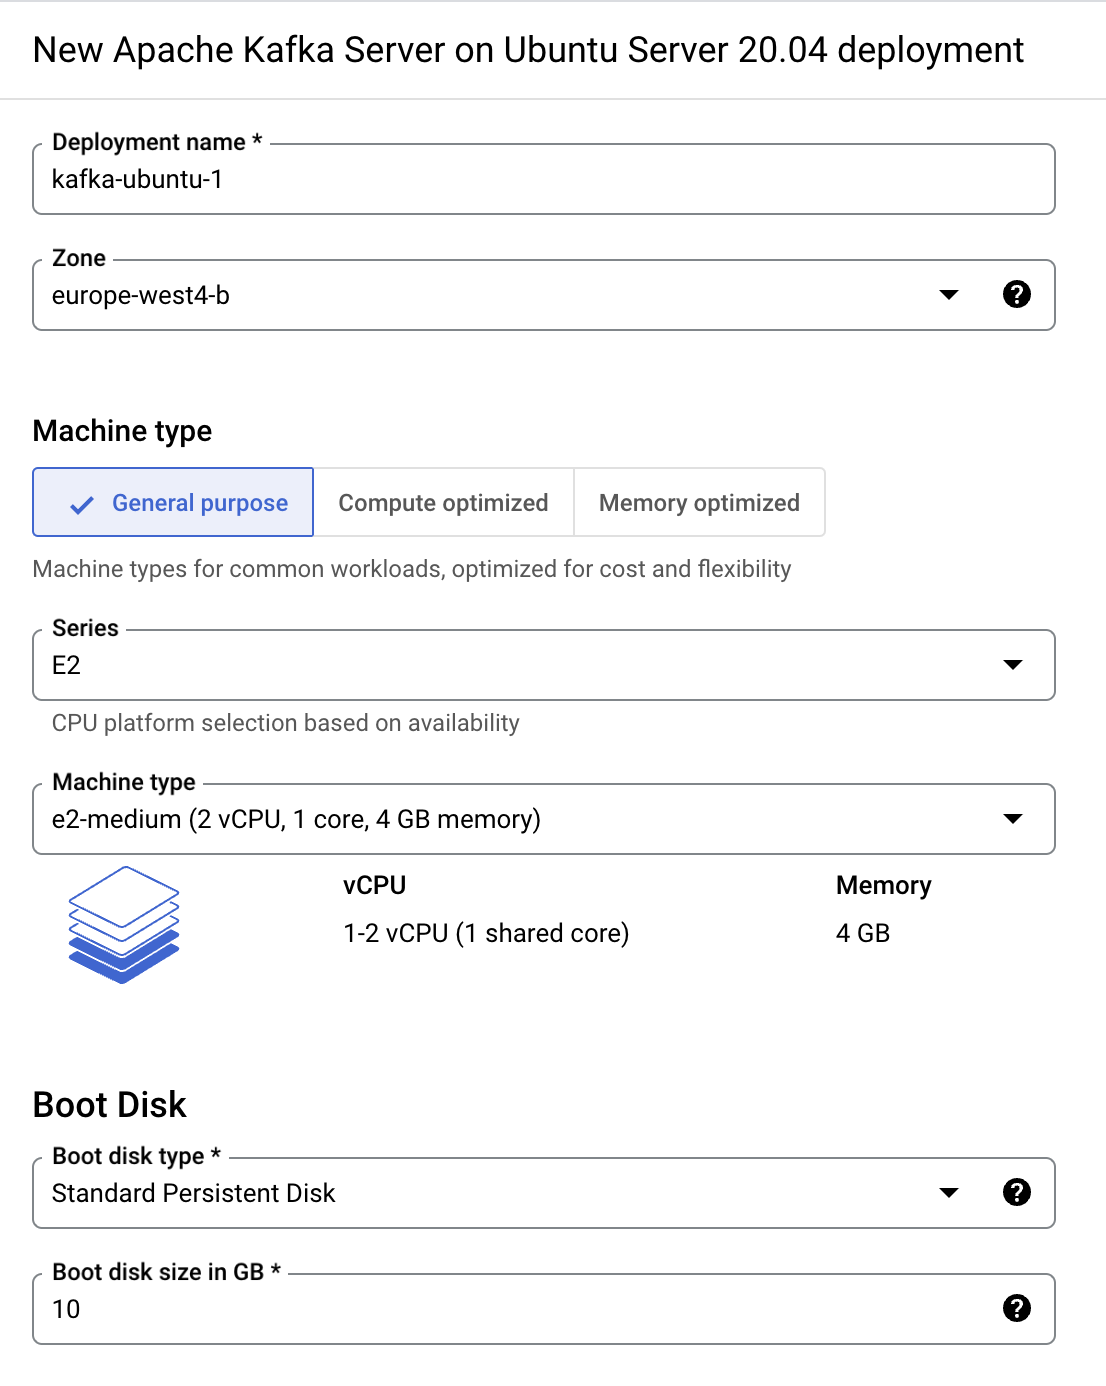
Click on the blue Launch button to launch on Compute Engine.
-
Select a zone
. -
Under Machine Type, change the Series to E2, and select the
e2-mediumMachine type. -
Leave all the other values as default, accept the terms of service, and click Deploy.
Once the deployment completes, the VM instance is available in the zone you selected.
Click Check my progress to verify the objective.
While you're waiting for deployment, you can check out this quick start which shows how to run the WordCount demo application that is included in Kafka.
Here's the gist of the code, converted to use Java 8 lambda expressions so that it is easier to read (taken from the variant WordCountLambdaExample):
Start the Kafka environment
-
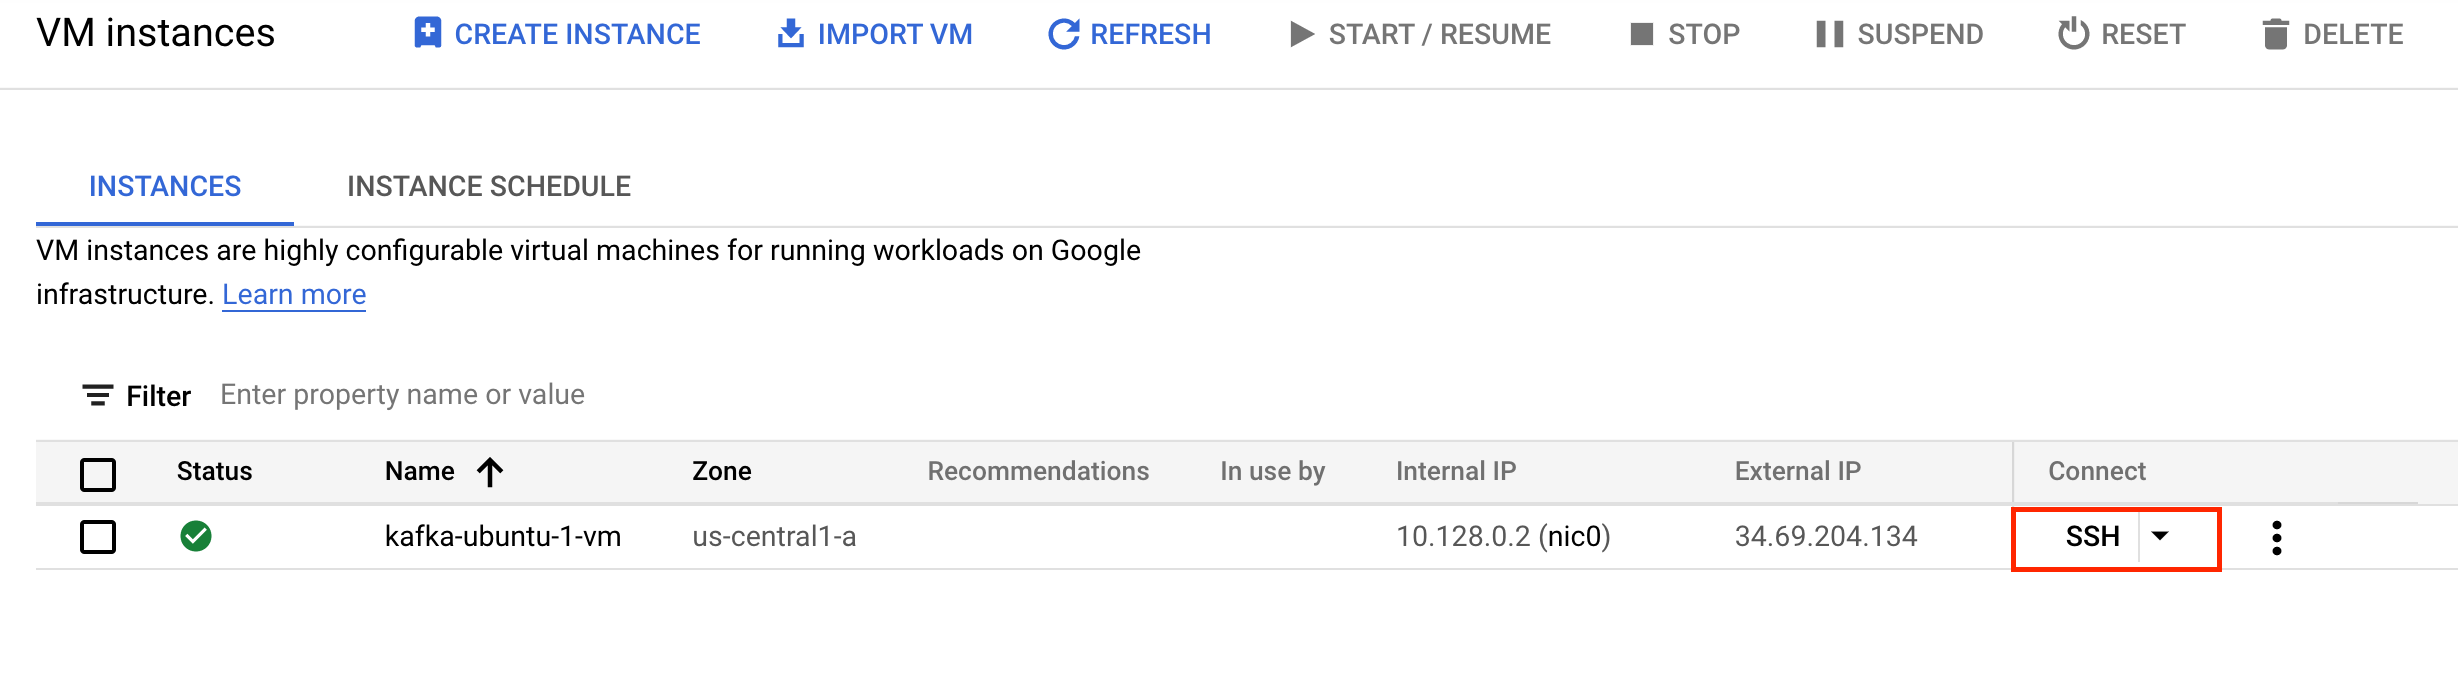
In the Console, open the Navigation Menu and select Compute Engine > VM Instances.
-
Next to the VM name
kafka-ubuntu-1-vm, click the SSH button to connect to the Kafka VM.
For reference, the installation of Apache Kafka is in the following directory: /opt/kafka/.
In the SSH window, you will run the following commands to start all services in the correct order.
- First, start by changing your current path to the Kafka installation directory:
- Run the following command to start the ZooKeeper service:
You will now need to open another terminal session to complete the next steps.
- From the VM Instances page, click the SSH button next to the VM to open a new SSH connection.
Start the Kafka broker service
- Run the following command to first change your current path to the Kafka installation directory and start the Kafka broker service:
Once all services have successfully launched, you will have a basic Kafka environment running and ready to use.
You will now need to open one final terminal session to complete the next steps.
- From the VM Instances page, click the SSH button next to the VM to open a new SSH connection.
Task 2. Prepare the topics and the input data
You will now send some input data to a Kafka topic, which will be subsequently processed by a Kafka Streams application.
- First change your current path to the Kafka installation directory:
Now you'll need to create the input topic streams-plaintext-input.
- In the same SSH window, execute the following command:
- Next, create the output topic
streams-wordcount-output:
Click Check my progress to verify the objective.
- Next, generate some input data and store it in a local file at
/tmp/file-input.txt:
The resulting file will have the following contents:
-
all streams lead to kafka -
hello kafka streams -
join kafka summit
- Lastly, you will send this input data to the input topic:
The Kafka console producer reads the data from STDIN line-by-line, and publishes each line as a separate Kafka message to the topic streams-plaintext-input, where the message key is null and the message value is the respective line such as all streams lead to kafka, encoded as a string.
Task 3. Process the input data with Kafka streams
Now that you have generated some input data, you can run your first Kafka Streams based Java application.
You will run the WordCount demo application, which is included in Kafka. It implements the WordCount algorithm, which computes a word occurrence histogram from an input text.
However, unlike other WordCount examples you might have seen before that operate on finite, bounded data, the WordCount demo application behaves slightly differently because it is designed to operate on an infinite, unbounded stream of input data.
Similar to the bounded variant, it is a stateful algorithm that tracks and updates the counts of words. However, since it must assume potentially unbounded input data, it will periodically output its current state and results while continuing to process more data because it cannot know when it has processed "all" the input data.
This is a typical difference between the class of algorithms that operate on unbounded streams of data and, say, batch processing algorithms such as Hadoop MapReduce. It will be easier to understand this difference once you inspect the actual output data later on.
Kafka's WordCount demo application is bundled with Confluent Platform, which means you can run it without further ado, i.e. you do not need to compile any Java sources and so on.
- Now, execute the following command to run the WordCount demo application. You can safely ignore any warn log messages:
The WordCount demo application will read from the input topic streams-plaintext-input, perform the computations of the WordCount algorithm on the input data, and continuously write its current results to the output topic streams-wordcount-output (the names of its input and output topics are hardcoded). You can terminate the demo at any point by entering Ctrl+C from the keyboard.
Task 4. Inspect the output data
-
On the VM Instances page, click the SSH button next to the VM name
kafka-ubuntu-1-vmto start a new connection to the instance. -
You can now inspect the output of the WordCount demo application by reading from its output topic
streams-wordcount-output:
The following output data should be printed to the console:
Here, the first column is the Kafka message key in java.lang.String format, and the second column is the message value in java.lang.Long format. You can terminate the console consumer at any point by entering Ctrl+C from the keyboard.
As discussed above, a streaming word count algorithm continuously computes the latest word counts from the input data, and, in this specific demo application, continuously writes the latest counts of words as its output.
You can check out the Confluent documentation to learn more about the duality between streams and tables. In fact, the output you have seen above is actually the changelog stream of a KTable, with the KTable being the result of the aggregation operation performed by the WordCount demo application.
Click Check my progress to verify the objective.
Task 5. Stop the Kafka cluster
Once you are done with the previous steps, you can shut down the Kafka cluster in the following order:
- First, stop the Kafka broker by entering
Ctrl+Cin the terminal it is running in. Alternatively, you cankillthe broker process. - Lastly, stop the ZooKeeper instance by entering
Ctrl+Cin its respective terminal. Alternatively, you cankillthe ZooKeeper process.
Congratulations!
You have now run your first Kafka Streams applications against data stored in a single-node Kafka cluster. In this lab you started a Kafka cluster, used the console producer to write example input data to a Kafka topic, and processed the data with WordCount using the Kafka Streams library. You then inspected the output data using the console consumer and stopped the Kakfa cluster.
Finish your quest
This self-paced lab is part of the Getting Started with Apache Kafka and Confluent Platform on Google Cloud quest. A quest is a series of related labs that form a learning path. Completing this quest earns you a badge to recognize your achievement. You can make your badge or badges public and link to them in your online resume or social media account. Enroll in this quest or any quest that contains this lab and get immediate completion credit. See the Google Cloud Skills Boost catalog to see all available quests.
Take your next lab
Continue your quest with these suggestions:
- Confluent: Clickstream Data Analysis Pipeline using ksqlDB
- Confluent: Developing a Streaming Microservices Application
Next steps / Learn more
- Confluent on the Google Cloud Marketplace!
- More details are provided in the rest of the Kafka Streams documentation.
Google Cloud training and certification
...helps you make the most of Google Cloud technologies. Our classes include technical skills and best practices to help you get up to speed quickly and continue your learning journey. We offer fundamental to advanced level training, with on-demand, live, and virtual options to suit your busy schedule. Certifications help you validate and prove your skill and expertise in Google Cloud technologies.
Manual last updated October 03, 2023
Lab last tested October 03, 2023
Copyright 2024 Google LLC All rights reserved. Google and the Google logo are trademarks of Google LLC. All other company and product names may be trademarks of the respective companies with which they are associated.