检查点
Set up Cloud Pub/Sub
/ 10
Cloud Scheduler: Qwik Start
GSP401

Overview
Cloud Scheduler lets you set up scheduled units of work to be executed at defined times or regular intervals. These work units are commonly known as cron jobs. Typical use cases might include sending out a report email on a daily basis, updating cached data every 10 minutes, or updating summary information once an hour. You can automate everything, including retries in case of failure to reduce manual intervention.
Each cron job created using Cloud Scheduler is sent to a target, where the work for the task is accomplished. The target must be one of the following types:
- Publicly available HTTP/S endpoints
- Pub/Sub topics
- App Engine HTTP/S applications
In this lab you will learn how to:
- Create a Cloud Scheduler job.
- Set a recurring schedule for a job.
- Specify a Cloud Pub/Sub topic as the job target.
- Run a job.
- Verify success.
Setup and requirements
Before you click the Start Lab button
Read these instructions. Labs are timed and you cannot pause them. The timer, which starts when you click Start Lab, shows how long Google Cloud resources will be made available to you.
This hands-on lab lets you do the lab activities yourself in a real cloud environment, not in a simulation or demo environment. It does so by giving you new, temporary credentials that you use to sign in and access Google Cloud for the duration of the lab.
To complete this lab, you need:
- Access to a standard internet browser (Chrome browser recommended).
- Time to complete the lab---remember, once you start, you cannot pause a lab.
How to start your lab and sign in to the Google Cloud console
-
Click the Start Lab button. If you need to pay for the lab, a pop-up opens for you to select your payment method. On the left is the Lab Details panel with the following:
- The Open Google Cloud console button
- Time remaining
- The temporary credentials that you must use for this lab
- Other information, if needed, to step through this lab
-
Click Open Google Cloud console (or right-click and select Open Link in Incognito Window if you are running the Chrome browser).
The lab spins up resources, and then opens another tab that shows the Sign in page.
Tip: Arrange the tabs in separate windows, side-by-side.
Note: If you see the Choose an account dialog, click Use Another Account. -
If necessary, copy the Username below and paste it into the Sign in dialog.
{{{user_0.username | "Username"}}} You can also find the Username in the Lab Details panel.
-
Click Next.
-
Copy the Password below and paste it into the Welcome dialog.
{{{user_0.password | "Password"}}} You can also find the Password in the Lab Details panel.
-
Click Next.
Important: You must use the credentials the lab provides you. Do not use your Google Cloud account credentials. Note: Using your own Google Cloud account for this lab may incur extra charges. -
Click through the subsequent pages:
- Accept the terms and conditions.
- Do not add recovery options or two-factor authentication (because this is a temporary account).
- Do not sign up for free trials.
After a few moments, the Google Cloud console opens in this tab.

Activate Cloud Shell
Cloud Shell is a virtual machine that is loaded with development tools. It offers a persistent 5GB home directory and runs on the Google Cloud. Cloud Shell provides command-line access to your Google Cloud resources.
- Click Activate Cloud Shell
at the top of the Google Cloud console.
When you are connected, you are already authenticated, and the project is set to your Project_ID,
gcloud is the command-line tool for Google Cloud. It comes pre-installed on Cloud Shell and supports tab-completion.
- (Optional) You can list the active account name with this command:
- Click Authorize.
Output:
- (Optional) You can list the project ID with this command:
Output:
gcloud, in Google Cloud, refer to the gcloud CLI overview guide.
Set the region
Set the project region for this lab:
Task 1. Enable Cloud Scheduler API
- Click on APIs & services > Library:

-
In the search bar, type in "scheduler", then click on the Cloud Scheduler API tile.
-
Click Enable.
Task 2. Set up Cloud Pub/Sub
- Create a Pub/Sub topic to use as a target for your cron job:
This command creates a topic called cron-topic.
-
Make a note of the name, you will use it later.
-
Create a Cloud Pub/Sub subscription:
You need this to view the results of your job.
Click Check my progress to verify the objective.
Task 3. Create a job
- Visit the Cloud Scheduler page in the console - you can use the Navigation menu or the search bar:
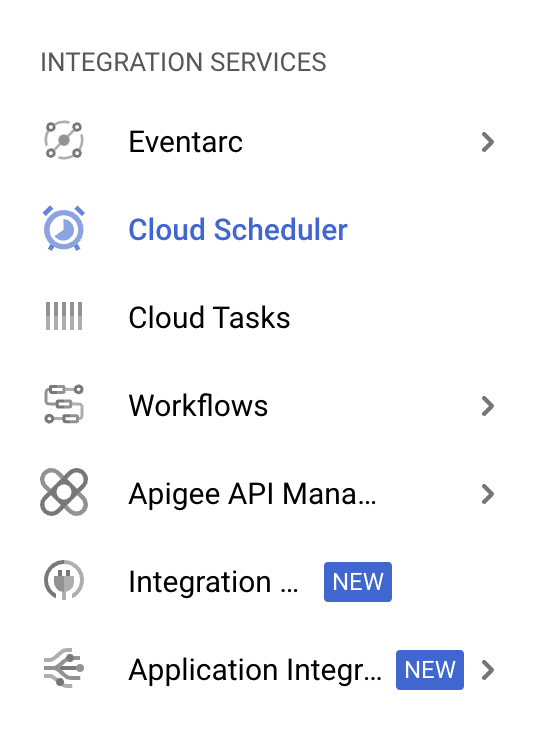
-
Click the Create job button.
-
Give your job a name and optionally add a description.
-
Specify the frequency for your job, using the unix-cron format for "every minute":
-
Select your Timezone. Click Continue.
-
In the Target type field, select Pub/Sub topic from the dropdown menu.
-
Under Select a Cloud Pub/Sub topic dropdown select the topic you created earlier (
cron-topic). -
Add a Message body string to be sent to your Cloud Pub/Sub target:

- Click Create.
You now have a job that sends a message to your Cloud Pub/Sub topic every minute. Wait a minute or 2 for the job to get succeeded.
Task 4. Verify the results in Cloud Pub/Sub
- To verify that your Cloud Pub/Sub topic is receiving messages from your job, invoke the following command:
- View the results.
You should see output that looks similar to the following:
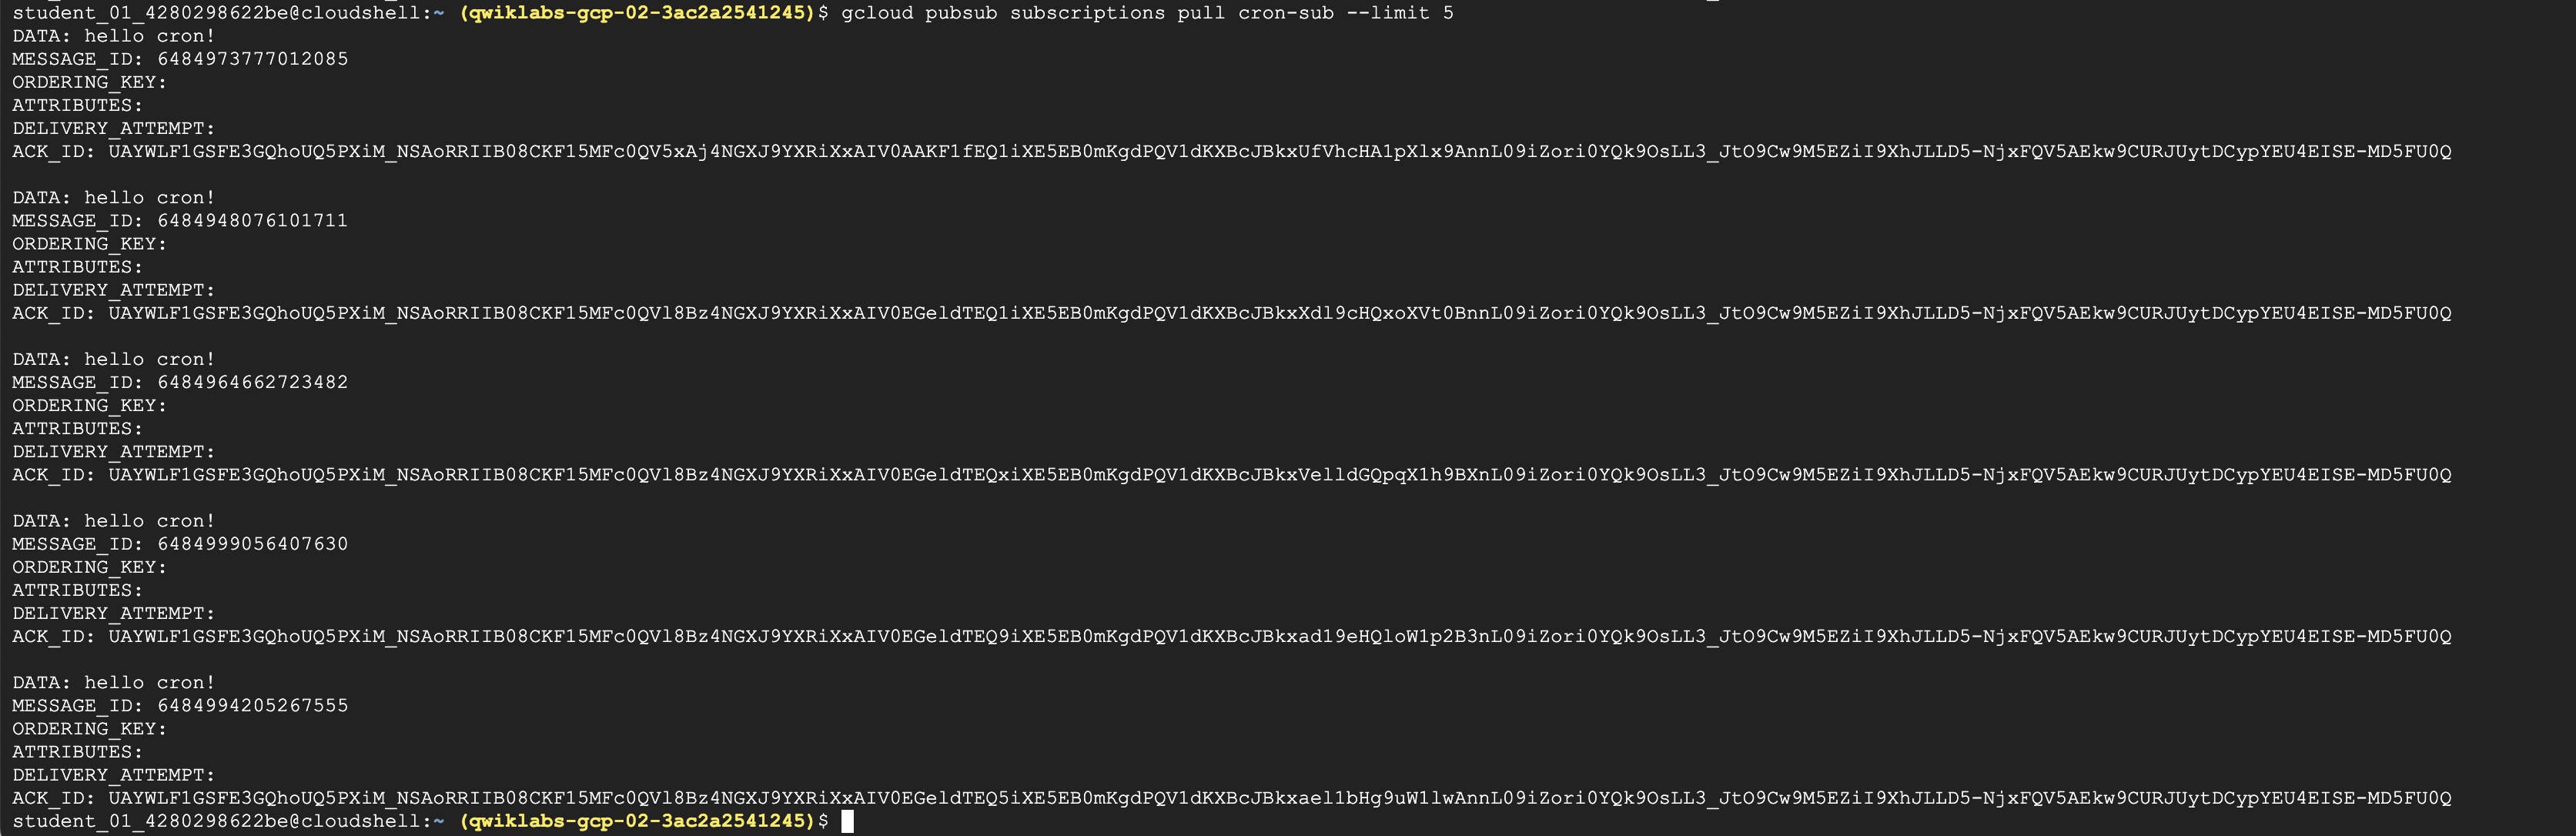
- If you don't see 5 responses, run the command again until you do.
Task 5. Test your knowledge
Test your knowledge about Google Cloud Platform by answering this question:
Congratulations!
You do not need to know the intricacies of crontab to manage your running scripts. From a single UI or command-line interface, Cloud Scheduler allows you to view and manage all your jobs.
Next steps / Learn more
See Configuring Cron Job Schedules for more information.
Google Cloud training and certification
...helps you make the most of Google Cloud technologies. Our classes include technical skills and best practices to help you get up to speed quickly and continue your learning journey. We offer fundamental to advanced level training, with on-demand, live, and virtual options to suit your busy schedule. Certifications help you validate and prove your skill and expertise in Google Cloud technologies.
Manual Last Updated April 13, 2023
Lab Last Tested April 13, 2023
Copyright 2024 Google LLC All rights reserved. Google and the Google logo are trademarks of Google LLC. All other company and product names may be trademarks of the respective companies with which they are associated.