Checkpoint
Upload files to Drive
/ 30
Create a new folder
/ 40
Share a link to a folder
/ 30
Google Drive: Getting Started
GSP468

Overview
With Google Drive, you can store all your files in the cloud, including photos, Microsoft® Word® documents, Excel® spreadsheets, and more. You can also make changes to a Word file using Google Docs, or convert your Word files to Google Docs.
You open files in your Drive folder on a desktop or from your browser. Files you create with Google Docs open in your browser or mobile app. Other files in your Drive folder open in their regular applications (like Adobe® Reader® for PDF® files) on your computer.
What you'll learn
In this lab, you use Drive to:
- Upload and store files.
- Access, view, and update your files.
- Organize and search your files.
- Share your files to collaborate with team mates.
Prerequisites
You will need some files and folders on your local computer to upload to Drive.
Setup and requirements
Before you click the Start Lab button
Read these instructions. Labs are timed and you cannot pause them. The timer, which starts when you click Start Lab, shows how long Google Cloud resources will be made available to you.
This hands-on lab lets you do the lab activities yourself in a real cloud environment, not in a simulation or demo environment. It does so by giving you new, temporary credentials that you use to sign in and access Google Cloud for the duration of the lab.
To complete this lab, you need:
- Access to a standard internet browser (Chrome browser recommended).
- Time to complete the lab---remember, once you start, you cannot pause a lab.
Start your lab
When you are ready, click Start Lab in the upper left panel.
Find Your Lab's User Email and Password
To access the resources and console for this lab, locate the User Email and Password in the left panel. These are the credentials you use to log in to Google Drive.
Sign in to Google Drive
- Click Open Google Drive.
Tip: Open the tabs in separate windows, side-by-side.
-
Notice the Email or phone field has been pre-filled with the User Email. Click Next.
-
Enter the Password and click Next.
-
Accept all terms and conditions as prompted.
Google Drive opens and you are signed in to the Student Google Account.
Task 1. Upload and store
You can store any file in Drive: pictures, drawings, videos, and more. After you store a file in Drive from one device, it is automatically available on all your other devices.
Upload files to Drive
To store files in Drive, use your web browser to upload them.
- In the left pane, click New > File upload.
- Choose a file on your computer and click Open.
When you see Upload complete in the bottom right, your file has uploaded successfully and can be accessed in any browser or device that has Drive installed.
- Click New > Folder upload.
- Upload a few files and/or folders from your local computer to use later in this lab.
If you upload a file or folder with a name that matches the name of an existing file or folder, Drive gives you the option of Replacing the existing file or folder, or Keeping both files or folder.
- Click New > File upload.
- On your computer, choose the same file you previously uploaded and click Open.
- Select Replace existing file and click Upload.
You may want to view or manage previous versions of the file or folder.
- In Drive, right click on the file you just uploaded and click File information > Manage versions.
- You will see Version 1 of the file.
-
To work on files from your desktop, see Store files on your desktop.
-
To upload files from your phone or tablet, see Upload files from your phone or tablet.
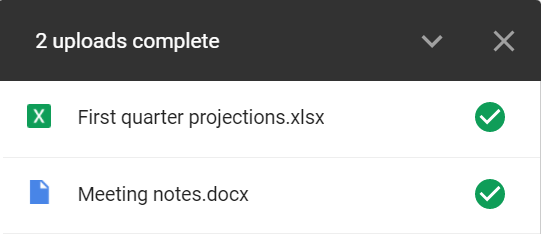
When you upload a file or folder, you see a message with "upload complete" and green checks next to the files listed, the files have uploaded successfully.
You can use a browser or any device with Drive installed to access the uploaded files.
Click Check my progress to verify the objective.
Task 2. Access your files
You can access files in Drive wherever you go — on your computer, phone, or tablet. When you update a file in Drive, Drive automatically syncs the changes. For example, if you update a file on your tablet, you can open the file on your laptop and see that update.
Access your files offline
Set up offline access for Google Docs, Sheets and Slides
- In Drive, click Settings
> Settings.
- In the offline section, check the Sync Google files box.

- Click Done.
Set up offline access for PDFs, Microsoft® Office® files, and more on your desktop
- To set up offline access for PDFs, Microsoft Office files and other files: in Drive, click Settings > Get Drive for Desktop. The Google Drive page opens.
You can download the Drive for Desktop app from here. The Google Drive page also provides how to download this app for other platforms so you can use this app across your browser, mobile device, tablet, and computer.
Task 3. View and update
This section describes how to:
- Preview and download stored files on the web.
- Open your files.
- Update Drive files.
- Delete your files.
- Restore deleted files.
Preview and download stored files on the web
-
Take a quick look at a Drive file. Right-click a file you uploaded and select Open with > Preview.
-
In the overlay, click the icons along to top and bottom to explore your options:
- Open your file with one of a list of suggested apps.
- Scroll down or up in your document files.
- Zoom in and out
of image files.
- Click the left arrow or right arrow to see the previous or next file in Drive.
- Open your file to edit it.
- Print
your file.
- Download
your file.
- Click More actions(
) to share, move, rename a file, and more.
Open your files
- In Drive, double-click the file you want to open.
Restore Drive files
- To restore an earlier version of a file that wasn't created in Docs, Sheets, or Slides see Restore deleted files.
Delete your files
If you remove a file you own in Drive on any device, it's automatically removed from Drive on all of your devices and on the web.
-
To remove a file from Drive, click to select a file and click the trash can
in the top right.
-
To restore the file click Trash
-
Right-click to select one file or folder to restore and click Restore.
-
You can also select multiple files or folders to restore following the same process as step 3.
Delete files permanently
-
Click Trash
-
To delete a file, right click on the file and click Delete forever.
-
To delete all the files in Trash, click Empty trash. Then click Delete forever.
-
Task 4. Organize and search
Now that all your files are in Drive, here are some key ways to stay organized.
This section describes how to:
- Create folders.
- Move files to folders.
- Star important files and folders.
- Search and sort your files and folders.
Create folders
Any new folders you create in your computer’s Drive File Stream folders or in Drive on the web automatically appear on your devices so that you’re organized everywhere.
-
Click My Drive in the left pane.
-
Click New > New Folder.
-
Name the folder
Important Dataand click CREATE.
The folder you created is listed in My Drive.
Click Check my progress to verify the objective.
Move files to folders
Move a file to a folder in My Drive:
- The easiest way to move a file into a folder is to drag and drop it into the folder.
- The other way is to right click on a file > Organize > Move and then choose a folder.
Star important files and folders
Star important files or folders to find them quickly later.
-
Right-click a file or folder and select Organize > Add to Starred.
-
In the left pane, click Starred
to see all your starred files and folders.
Search and sort your files and folders
It's hard to browse through hundreds of files just to find the one you need. So, try searching Drive instead.
Search for files or folders in Drive:
- In the Drive search box at the top, enter a word or phrase.
To help you search faster, Drive suggests search terms as you enter text.
- Click a suggestion to open it or click Search to see a list of results.
Use advanced search options:
- On the right of the search box, click the Search options icon. Choose any option or combination of options to filter your results further.
- Type—Search by file type.
- Owner—Search by file owner.
- Location—Search by location (including items in the Trash or Starred). You can only search for folders that are in My Drive or Team Drives. To search a folder that is shared with you, you must first add the folder to My Drive.
- Date modified—See items that were recently modified by anyone (not just you).
- Item name—Search for a term in the file name.
- Has the words—Search for files that contain certain words.
- Shared to—Search for someone that has access to the file.
- Follow up—Search for files you own with suggestions, or files with action items assigned to you.
- Click SEARCH.
Task 5. Share and collaborate
After you share Drive files or folders, you can work on them with teammates or even people outside of your company.
This section describes how to:
- Share files and set access levels and visibility.
- View Drive activity and file details.
- Collaborate with Google Docs editors.
Share files and set access levels and visibility
Share a file or folder with specific people
You can only share files that you own or have edit access to.
- In My Drive, right-click a file or folder to share and select Share.
- Under Share with people and groups, enter an email address to which you have access to share with yourself.
- Click Editor (on the right) and choose the access level:
- Editor—Collaborators can add and edit content as well as add comments.
- Commenter (Select files only)—Collaborators can add comments, but can't edit content.
- Viewer—People can view the file, but cannot edit or add comments.
You should receive an email with a link to the file or folder.
- (Optional) To add a note to the email, enter your note. To skip sending an email, uncheck the Notify people box.
- Click Send.
Share a link to a file or folder
You can send other people a link to a file or folder to give them access. When you share a link, your name appears as the owner.
You can only share files that you own or have edit access to.
-
In Drive, right-click the
Important Datafolder to share and and click Share > Share. -
Click the Restricted arrow and select Qwiklabs.
-
Click Viewer (on the right) and choose the access level:
- Editor—Collaborators can add and edit content as well as add comments.
- Commenter (Select files only)—Collaborators can add comments, but can't edit content.
- Viewer—People can view the file, but not edit or add comments.
-
Click Copy link.
-
Click Done.
-
You can now paste the link in an email or any place you want to share it.
Click Check my progress to verify the objective.
Stop sharing a file or folder you own
-
In Drive, select the shared file or folder.
-
Click Share. If you had successfully shared the file to a person in the previous step.
-
Click the access level (ie Editor, Viewer, Commenter) next to the person you want to stop sharing the file or folder with and click Remove.
-
Click Save changes.
-
Click Done.
Delete a link to a file or folder you own
When you delete a link to a file or folder that you own, the only people who can still see it are you and anyone you share it with.
- In Drive, right-click the
Important Datafolder you want to share and select Get link. - Click Qwiklabs and select Restricted.
- Click Done.
View Drive activity and file details
Keep track of changes to items created in or uploaded to Drive. You can also see specific information about your files and folders.
See Drive activity on the Activity tab
You can see changes to items in Drive, such as:
- Who uploaded, copied, moved, or removed the item.
- Who shared or unshared the item.
- Who commented in, edited or renamed the item.
- People affected by the change.
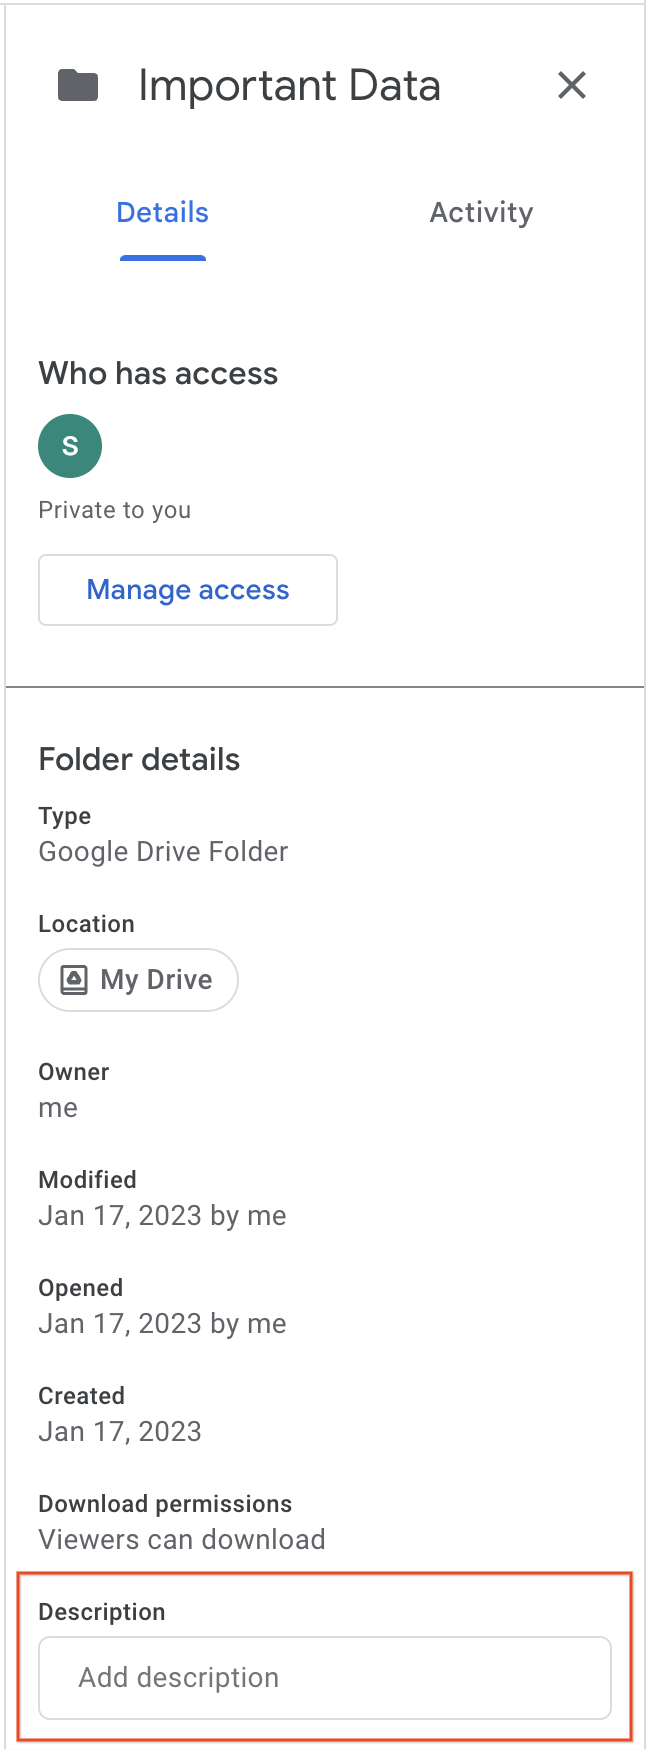
See Drive activity on the Details tab
- In Drive, select the file or folder and at the top right of the Activity pane, click View details
to see information and changes.

- In the right pane in the Details tab, at the bottom, click Description text box to add a description of the item.
Collaborate with Google Docs editors
In Google Docs, Sheets, Slides, Forms, and Google Sites, individuals can work together in the same document in real time. Commenting on any file brings a conversation into context so you avoid the back-and-forth of email and the resulting lost time.
- Click New and select a file type. Options are:
- Google Docs
- Google Sheets
- Google Slides
- Google Forms
- Google Drawings
- Google My Maps
- Google Sites
- Google Jamboard
- Now all you need to do is click SHARE in the upper right, and then share the file with your team to collaborate on a draft or key issue.
Congratulations!
You explored Google Drive by uploading, managing, and sharing files on Google Drive.
Next steps / Learn more
- For what else you can do in Drive, see Google Drive training and help.
- Keep up with the latest in the Official Blog of Google Cloud.
- Keep up with the latest in Google Workspace Blog.
Google Cloud training and certification
...helps you make the most of Google Cloud technologies. Our classes include technical skills and best practices to help you get up to speed quickly and continue your learning journey. We offer fundamental to advanced level training, with on-demand, live, and virtual options to suit your busy schedule. Certifications help you validate and prove your skill and expertise in Google Cloud technologies.
Manual Last Updated February 27, 2024
Lab Last Tested August 21, 2023
Copyright 2024 Google LLC All rights reserved. Google and the Google logo are trademarks of Google LLC. All other company and product names may be trademarks of the respective companies with which they are associated.